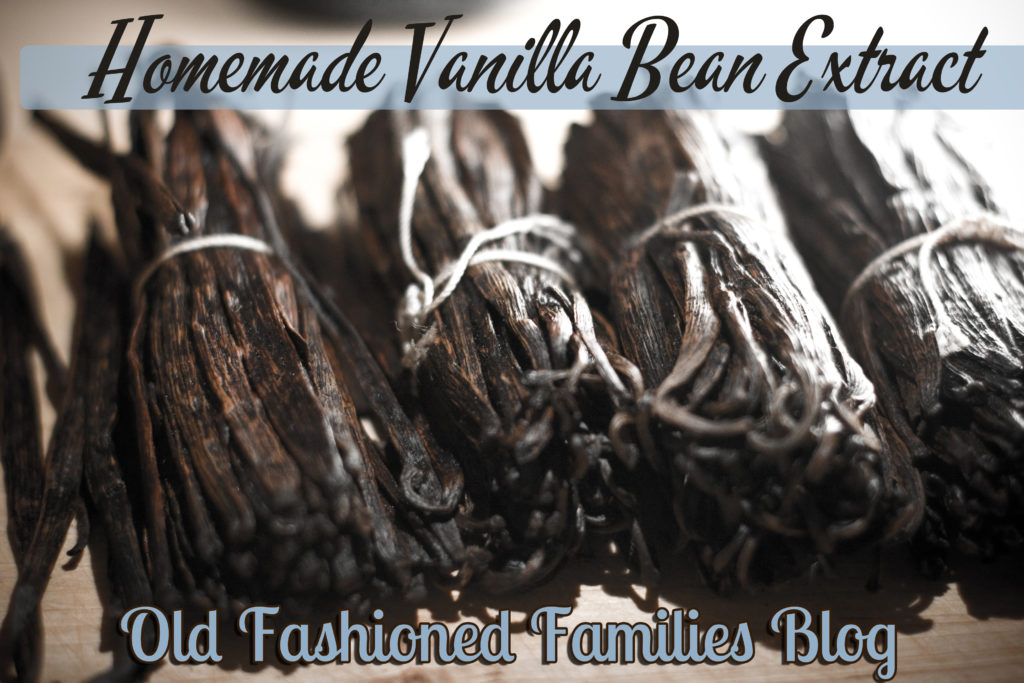
Photo by Jacob Hall | CC BY 2.0 | words added
If given the choice between vanilla and chocolate flavoring in something, most of the time I go with vanilla. Not to say I don’t love chocolate, but vanilla is just so much more complimentary and useful. It’s also less overpowering. However, a bottle of vanilla extract can be pretty expensive, especially if you get the pure stuff (since the imitation is mostly sugar and not that great for you). But I simply love using vanilla.
So, being the old-fashioned girl I am, I decided to make my own extract. Like just about anything you make at home, it not only tastes better, but is 100% better for you! Of course, be aware that most vanilla extract has a bit of sugar in it, so you may have to experiment a little with some of your recipes, depending on if your usual vanilla extract has sugar or not.
Making Homemade Vanilla Extract
Making your own vanilla extract is actually ridiculously easy. The hardest part about it is probably getting the vanilla beans. If you have a health foods supply store in your town, then there’s a good chance they will have some, or you can purchase beans online. If you’re buying them in person, try and avoid getting dried-out beans. They should be soft, pliable, tender, and flexible. Oily is good as well. If it feels dried out, hard, or has mold, then you’ll probably want to skip it.
You’ll also need a good bottle that seals, and some alcohol. Vodka is best as it doesn’t transfer any flavor to the vanilla extract and can be used in more things. However, you can use rum, brandy, or even bourbon if you like. I don’t think it matters as to the quality of the vodka, but you probably don’t need as much, so I tend to avoid the bottom shelf.
As a reference, you’ll want to plan on about five beans per 8 ounces of extract. So check how many ounces the bottle you want to use will hold, and do the math from there. You can add more beans if you like, but I wouldn’t do less.
Now you have everything, here are the steps:
Step 1: Slice the beans
Using a sharp knife, slice the beans lengthwise (like a hotdog bun), leaving a little bit at the top connected. It should look like a V. You are going to see TONS of little seeds inside that look like a gooey caviar or something. DO NOT scrape it out!! Much of the flavoring is in those little seeds, not in the husk, and you’ll end up with a jar of bean husks floating in vodka. You can always strain the seeds out before you use it if you like.
Step 2: Add beans and alcohol to bottle
Toss the beans into whatever bottle you’ve chosen, then use a funnel (or eyeball it and get it all over the counter, like I did) to pour the alcohol into the container. Keep in mind when you’re adding the beans that they ought to be completely submerged, so make sure they don’t stick out of the top. If they do, just bend them down a little before adding the vodka.
Step 3: Walk away
Set the bottle on a shelf somewhere out of direct light and leave it alone. The extract will need to sit for at least three months to properly pull the vanilla flavor out (and lose the alcohol taste and smell). Once a week, make sure you shake it a bit. Once it has sat for 8-12 weeks, taste it to see if it has steeped enough.
Now, I’ll share the super cool thing with this: once you have the homemade vanilla extract made, you can have an endless supply for as long as you like. All you have to do is leave the beans in the bottle, top it off with fresh vodka occasionally, and let it do its thing. The beans usually will need to be replaced about every six months or so, but you don’t need to dump out the liquid or anything—just slice them and dump them in the vodka, and you are good to go.
And that’s it! You have vanilla extract!! You can either pour directly from the bottle or dump it in a prettier bottle. If you don’t like the seeds, use a coffee filter to catch them. Personally, I think that’s part of the charm of homemade extract. Those seeds give your dishes a bit of class and a zing of flavor, but it can be a little weird until you get used to it.

Leave a Reply