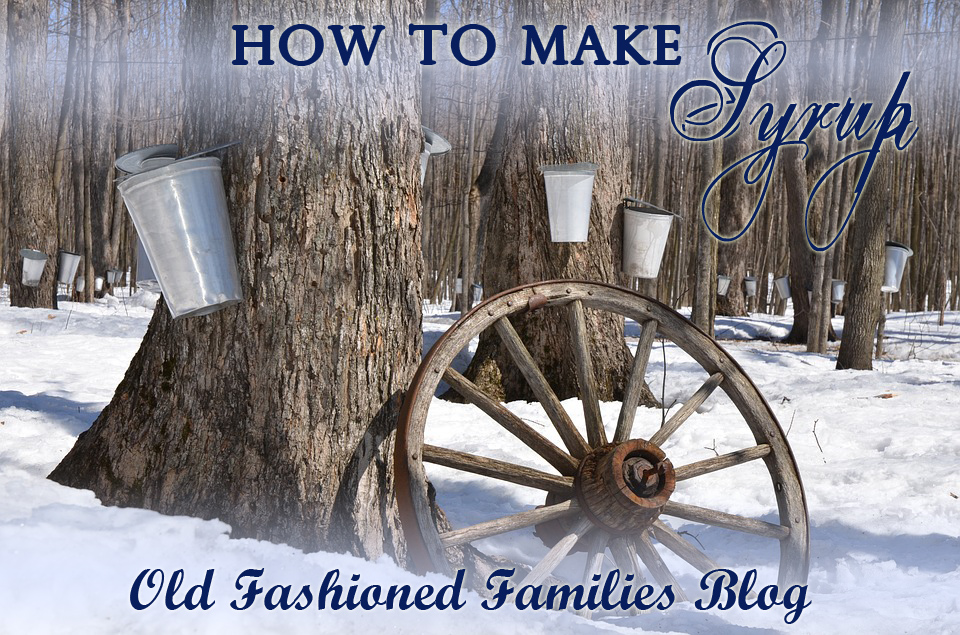
While most people know that maple trees can be tapped for syrup, it is less common knowledge that there are dozens of other trees that can be tapped for sap which you can also make into syrup! It’s actually pretty easy.
What Trees Can be Tapped
First, of course you need to identify if your tree can be tapped for syrup or sap. It is pretty safe to assume that if you live in an area without a winter your trees won’t be able to produce any sap (don’t worry—I still consider you lucky). Trees typically are ready to be tapped when temperatures start falling between 20-40 degrees Fahrenheit.
The most common trees for tapping are definitely maple trees. There are quite a few variations of maple trees though, from black to red maples. Other popular sap-producing tree species include black walnut, English walnut, paper birch, and sycamore.
If you need some help identifying trees, it’s as simple as identifying the leaf they produce! This, of course, means you have to identify them before winter comes, and either mark or just remember what the tree is. You can learn more about identifying trees here. Or, of course, there is an App for that.
Supplies For Tapping
While you can get an elaborate system for tapping from a commercial distributor, I of course recommend you keep it simple and try to do most of it with stuff from around the house—you know, the old fashioned way! If you don’t have much of this equipment at home, you can purchase “tapping kits” from some places online such as Amazon.
- Drill bit – You’ll need to drill a small hole into the tree in order to be able to place your tap.
- Tap/Tubing – This is essentially just a valve to help get fluid from the tree to your container. Some people even use drinking straws for the tubing. Most people also use a hammer or mallet to secure the tap to the tree.
- Buckets/Containers – You’ll need these to get the sap from your tubing into something to transport and keep. While you can purchase “maple sap buckets”, I recommend you just use an old milk jug or something along those lines. You can cut a hole into the container if necessary so that you may place your tap/tubing directly into your container.
From Sap to Syrup
Once you’ve got the sap, you are going to need a few more things to make it into syrup. You’ll need some pots, a cheesecloth or strainer, a cooking thermometer, and some storage jars. If you have all that, you’re ready to make some syrup!
You should strain your sap before you start boiling, in case there are flies or other products of nature that got mixed in. Your sap is going to have to be boiled until it is 7 degrees above the boiling point of water—so about 219 degrees Fahrenheit. That is the temperature where sap becomes syrup. Be careful though. If it gets too hot, it might crystallize. If it doesn’t get hot enough, you can run into mold later on.
That is really it. It can be time-consuming to get it to the right temperature, but the process is so simple other than that. You just boil the sap into syrup, and then you are able to can it or jar it—whichever way you like to preserve! For tips on how to prepare for canning season, click here.


Leave a Reply